Common Operations
This guide covers the common operations in EasyCoda to help you build applications more efficiently.
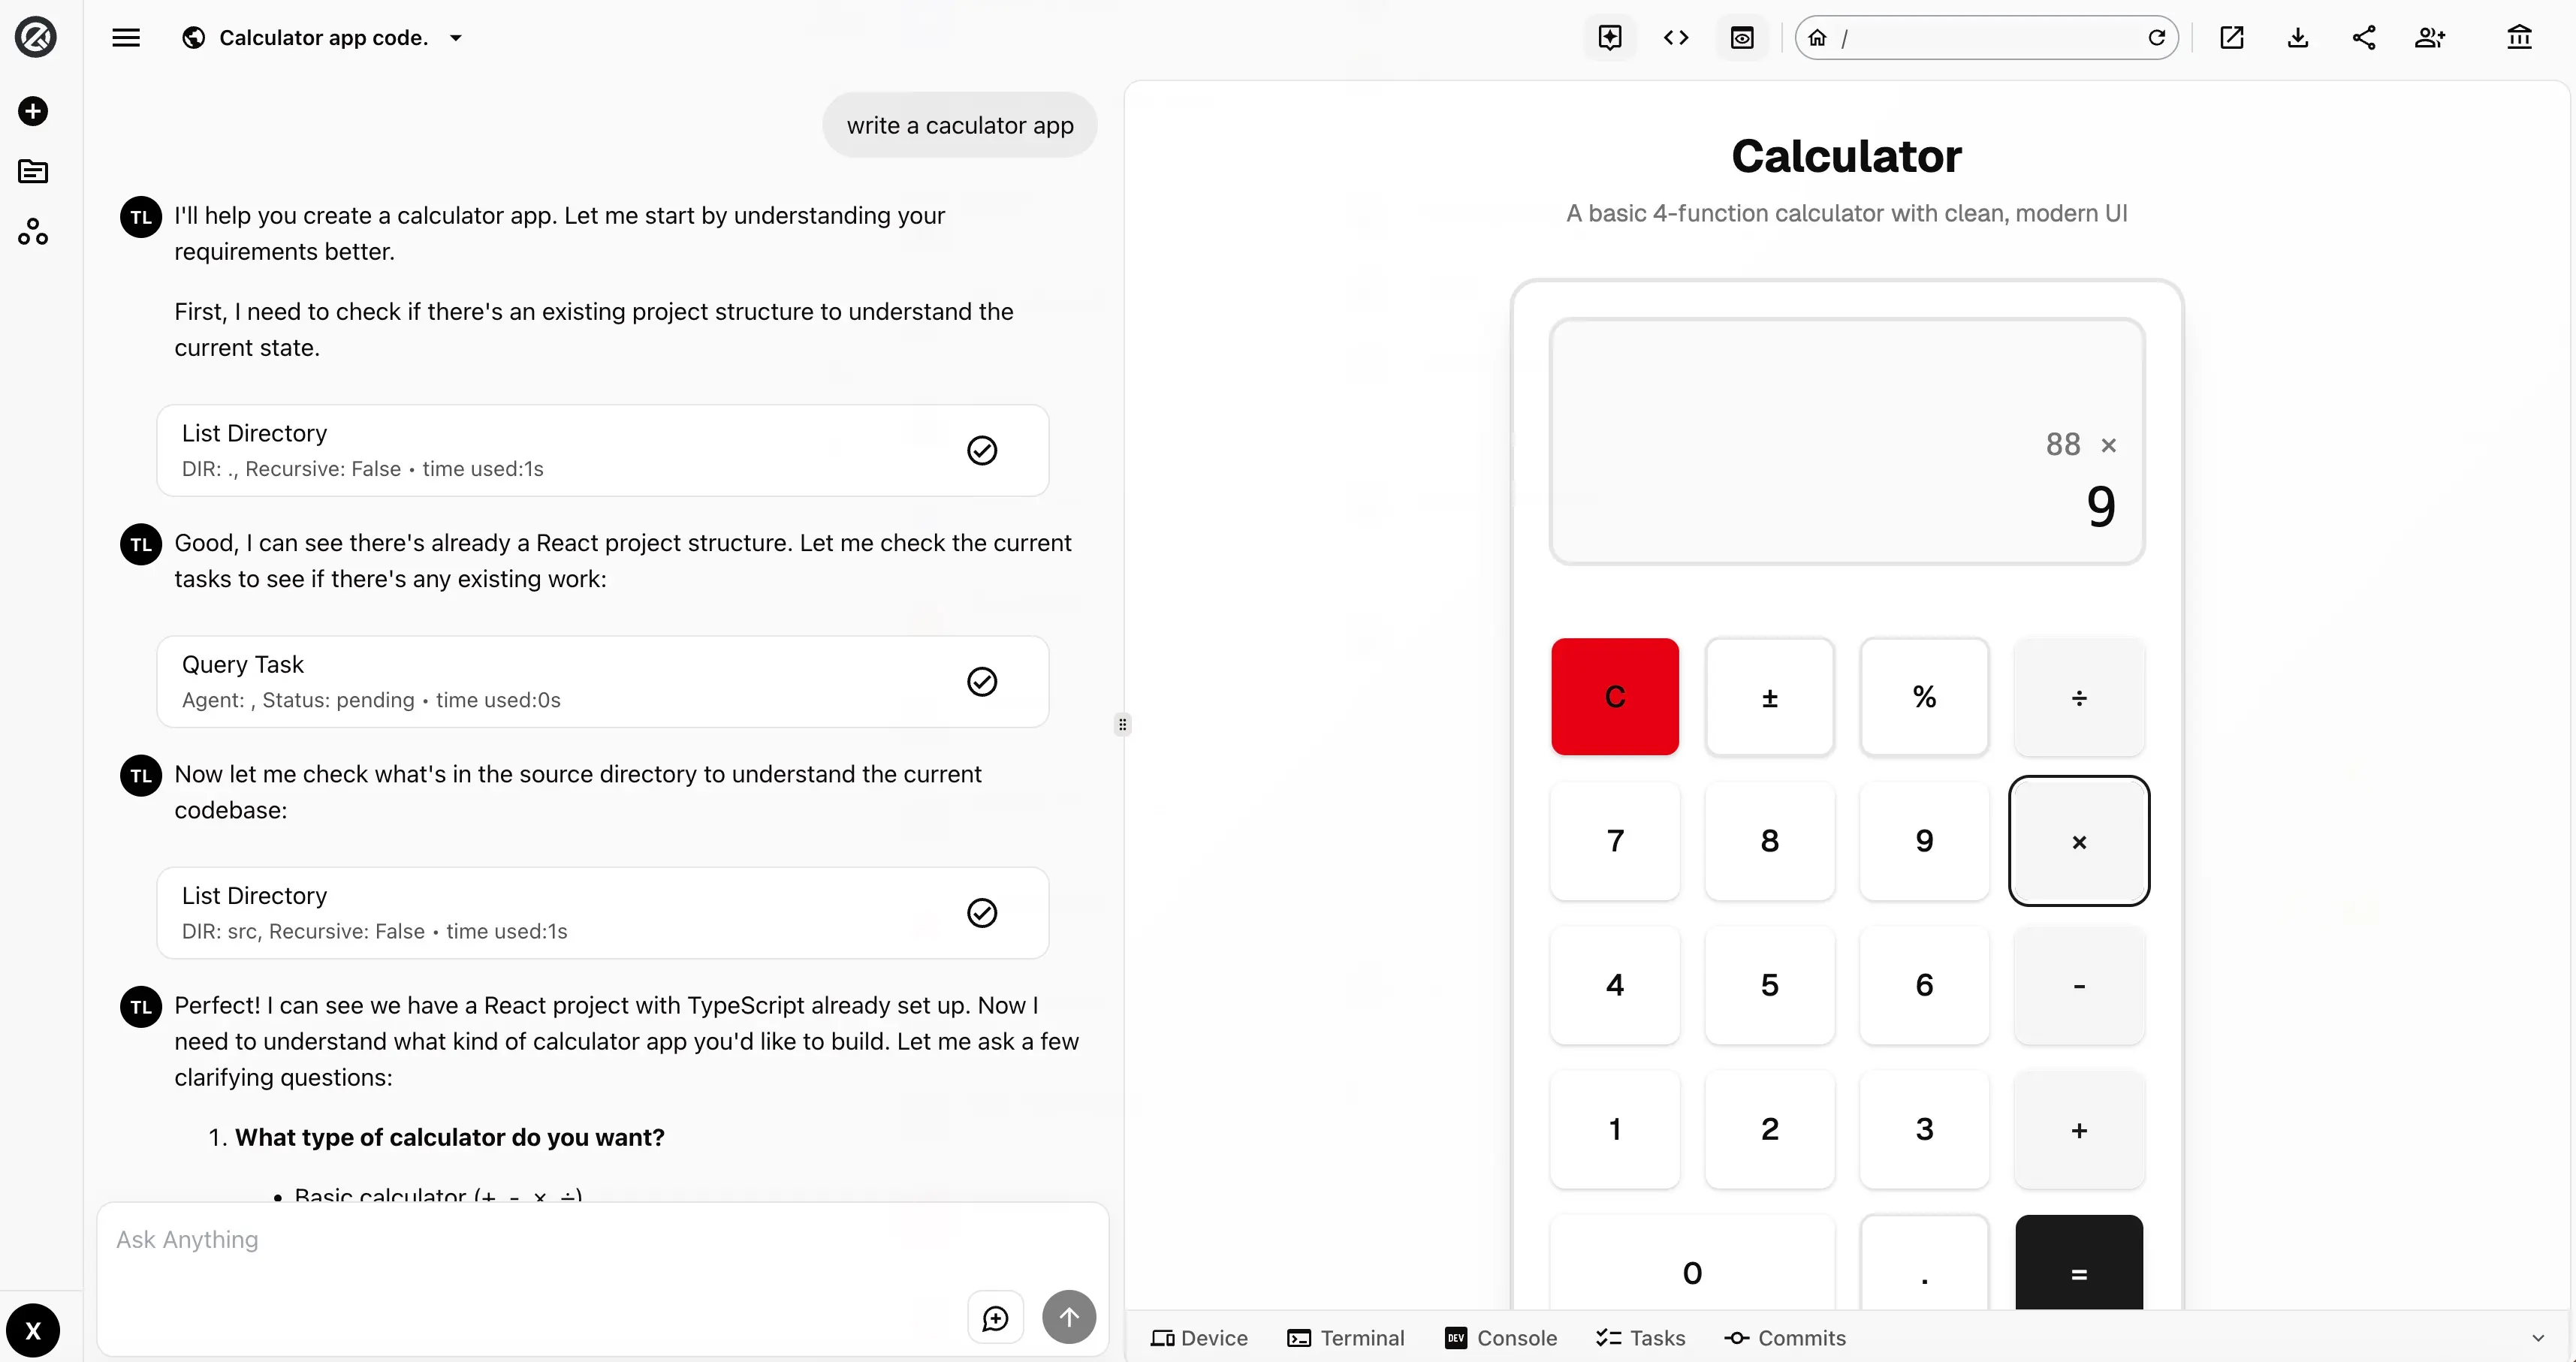
After completing the Quick Start, you should know how to launch a project on EasyCoda. This guide focuses on the operations available on the project chat page after your project is up and running. Once a project is successfully created, you will be taken to the project chat page, as shown below:
Agent Conversations 🔗
The left side of the project chat page is where you communicate with the agent team. You can send messages to the agent team using the input bar at the bottom of the page. While the agent team is working, the send button changes to a Stop button — click it to halt the agent’s current task. Note that the stop action is executed asynchronously.
To the left of the Send/Stop button is the New Conversation button. Click it to start a fresh conversation. This is useful when your chat history becomes very long, as previous messages will not be sent to the model in the new session.
EasyCoda supports conversation summarization, so you don’t need to worry about the model forgetting earlier context as conversations grow, or running out of context window space. Token consumption from conversation summarization is not counted toward your credit usage.
When a conversation exceeds 10 messages, the page displays only the latest 10. Scroll up and click Load More to retrieve older messages.
App Preview 🔗
The right side of the project chat page is the preview area, which displays the UI of your project running in development mode. For backend services, it shows the Swagger documentation page instead.
App Navigation 🔗
In the top navigation bar, to the right of the app URL input field:
- The Home button (before the input field) navigates to the preview app’s homepage.
- The Refresh button (at the end of the input field) reloads the current preview URL.
- You can type a route path directly into the URL input field and press Enter to navigate to it.
- The External Link button to the right of the address bar opens the preview URL in a new browser tab.
Device Simulation 🔗
In the bottom-left of the app preview area, click the Device button to open a menu where you can switch between different device profiles to test your app’s layout and responsiveness.
Browser Console Logs 🔗
Click the Console button at the bottom of the preview page to view the browser console output logs for your web application.
Sandbox Access 🔗
Click the Terminal button at the bottom of the app preview area to open a terminal connection to the sandbox environment. You can use it to test, debug, or inspect your application. The default application storage path is /opt/app/.
Task Progress 🔗
Click the Tasks button at the bottom of the app preview area to view the current task list and progress of the agent team:
in-progress— the task is currently being executeddone— the task has been completedpending— the task has not yet started
Code Commits 🔗
Click the Commit History button at the bottom of the app preview area to view the Git commit history for each agent task. You can roll back to any previous commit, or use Git commands directly in the terminal to inspect the commit log.
Layout Customization 🔗
The top-right area of the preview section contains layout toggle buttons:
- Chat Panel — show/hide the chat area
- Code Browser — show/hide the code browser
- Preview Panel — show/hide the preview area
Between the chat and preview areas, there is a drag handle. Click and hold with the left mouse button, then drag left or right to dynamically adjust the width ratio between the chat and preview panels.
Code Download 🔗
In the top navigation bar on the right, click the Download icon to download a ZIP archive of your application’s source code. For more details, see Project Management.
App Sharing 🔗
In the top navigation bar on the right, click the Share icon to copy your application’s access URL to the clipboard.
Team Collaboration 🔗
In the top navigation bar on the right, click the Collaborate icon to invite users to your project. Invited users are added to the workspace that the project belongs to by default. For more information, see the Workspace Guide.
Project Notifications 🔗
To receive project completion notifications, go to Personal Settings → Notifications and enable email or SMS notifications. When a project is complete, a summary report will be sent to your account’s registered email address. SMS notifications are currently only supported for mainland China phone numbers.