Quick Start
This guide walks you through setting up EasyCoda and creating your first AI application. By the end, you’ll have a fully functional AI-powered app up and running.
Prerequisites 🔗
Before you begin, make sure you have the following:
- An account — You have registered an EasyCoda account.
- Credits — Your account has available credits. Every new account receives 500 free credits, which is enough to build a large project. See the Credits Guide for details.
Create a Project 🔗
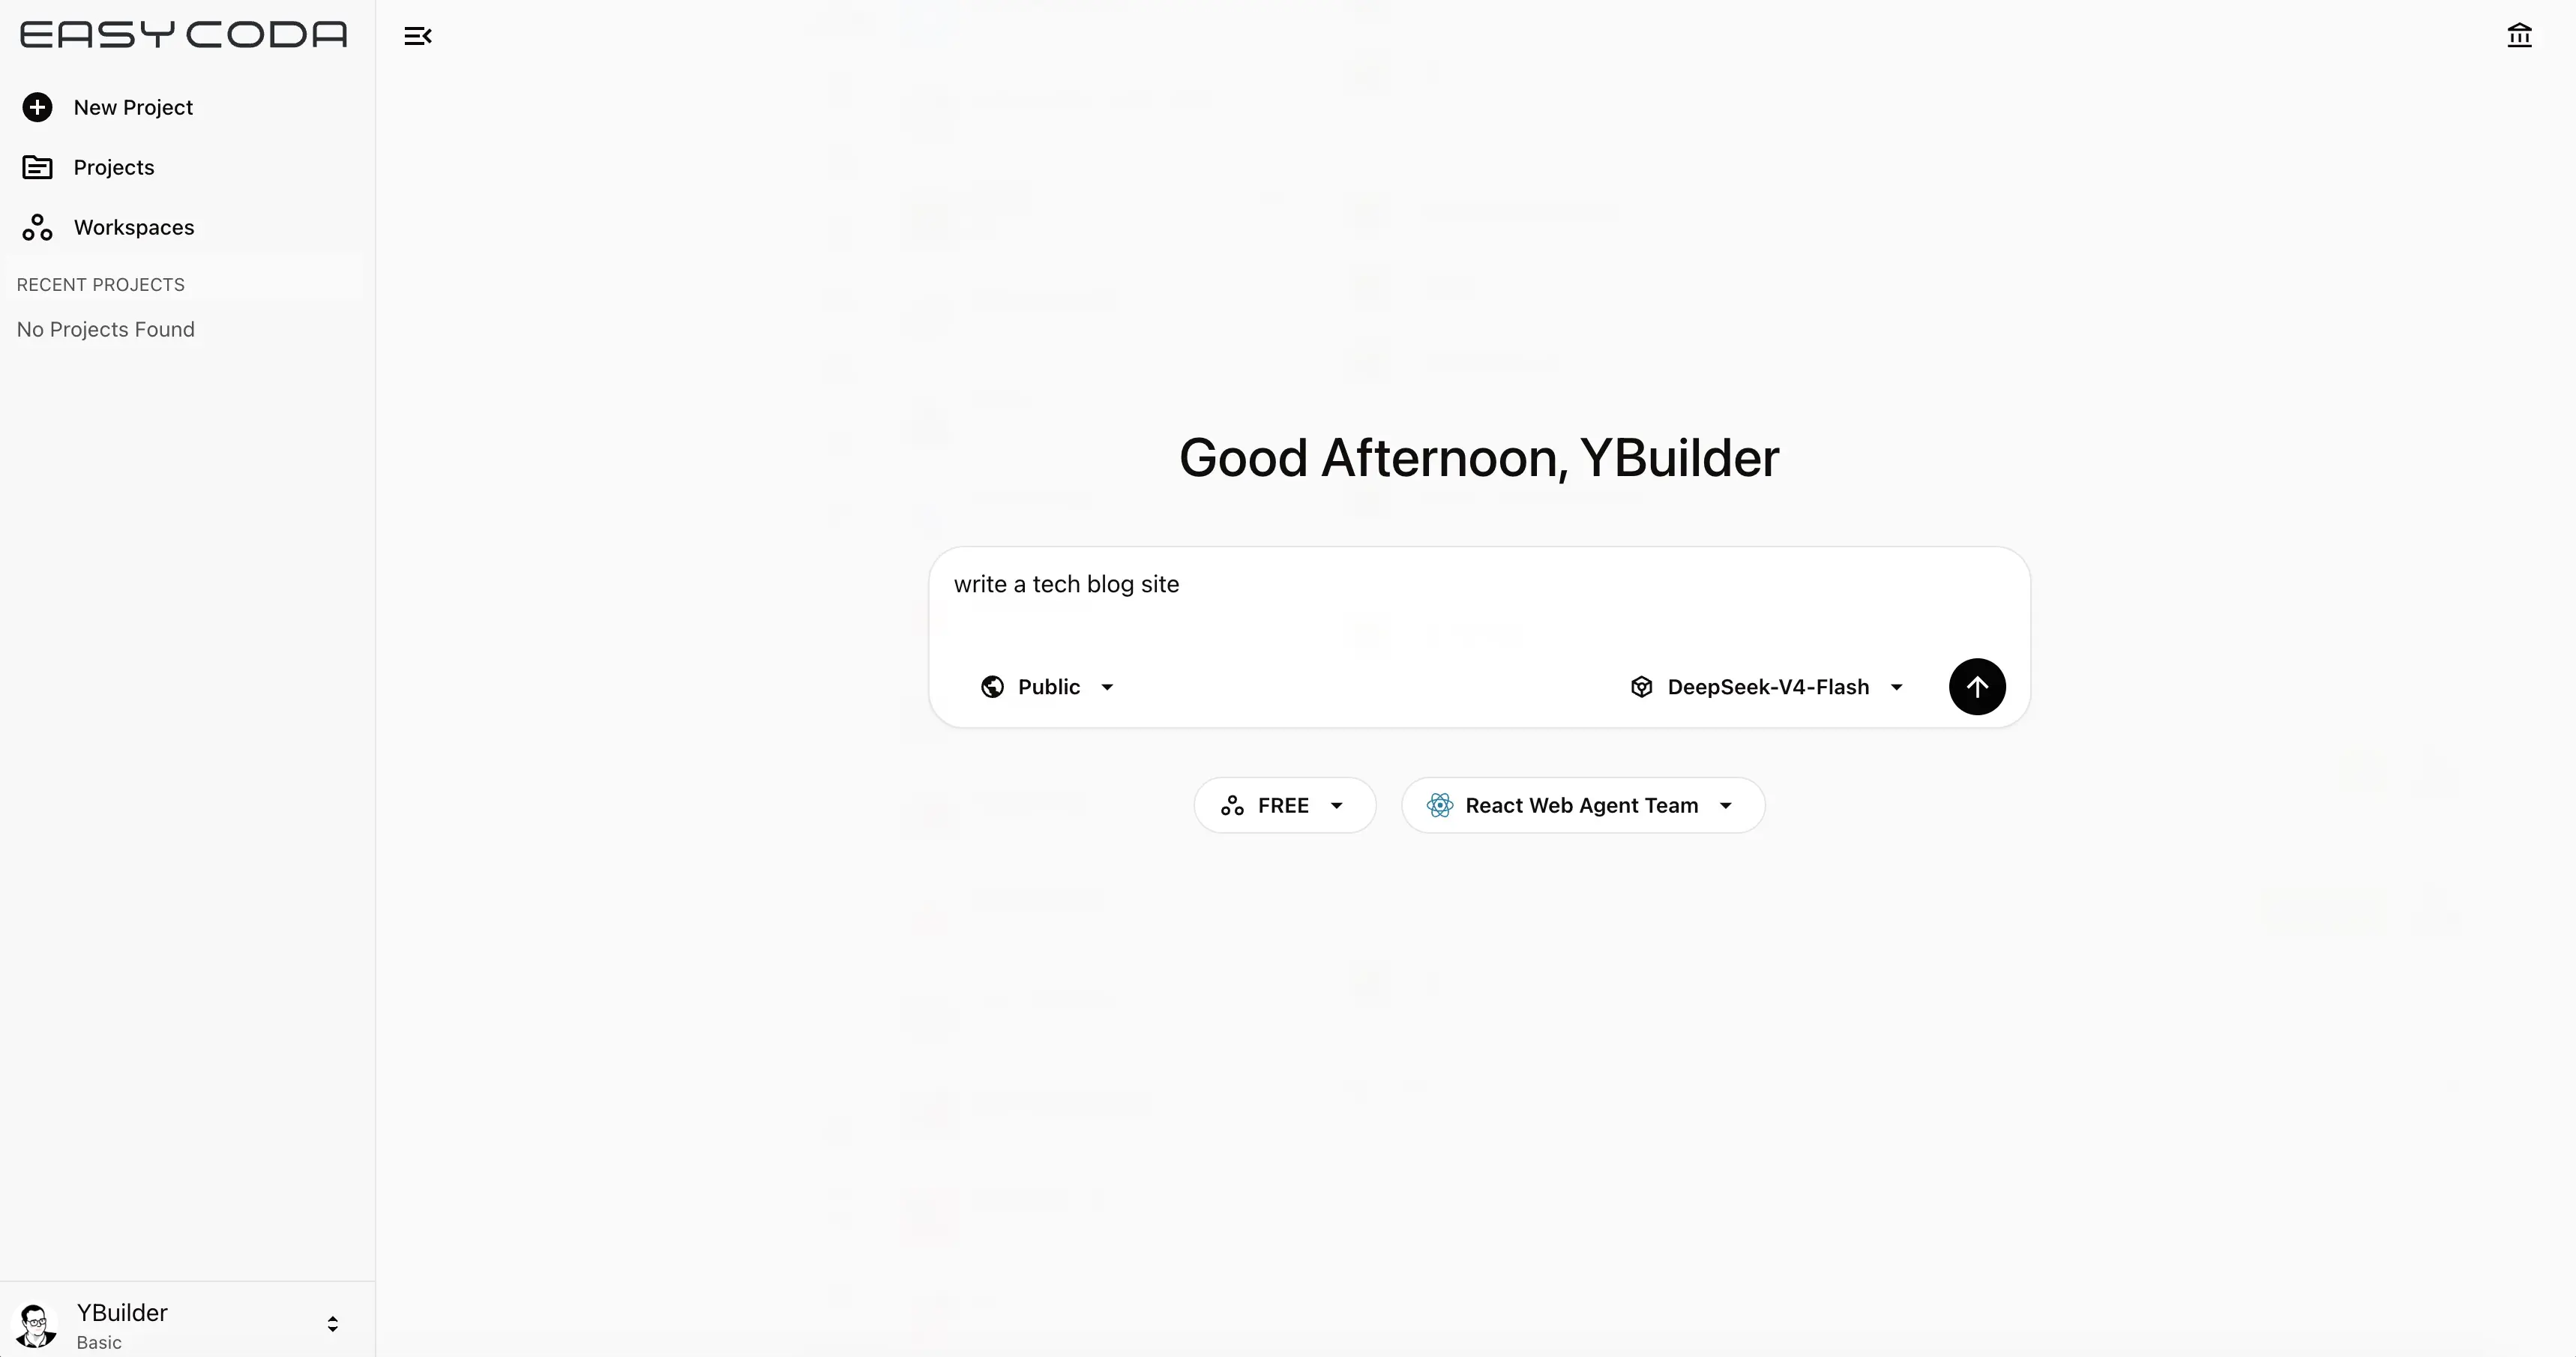
After logging in, you’ll be redirected to the EasyCoda Console. You can also open this URL directly in your browser — it defaults to the new project page.
On this page, simply describe your idea or requirements in natural language and click Send to create a new project.
Examples:
Build an official website for a tech company.
Create a blog website.
Once you submit your description, the Team Leader agent will discuss the requirements and technical choices with you in more detail. The more specific your description, the higher the quality of the result.
Default Project Settings 🔗
By default, newly created projects have the following settings. You can change any of these before submitting your request:
-
Visibility — Projects are public by default, meaning all logged-in users can view and clone your project for their own development. Your chat history is never cloned and remains visible only to you. You can switch to a private project, which is accessible only to you unless you explicitly invite other users. See Project Management for details.
-
Agent Team — Defaults to the React Web App agent team, which builds React-based frontend applications. If you need a full-stack application (e.g., one with a database), select the Full-Stack agent team from the dropdown below the input box. Note: the agent team cannot be changed after the project is created. See Agent Teams Guide for available options.
-
Workspace — You can assign the project to a specific workspace. If none is selected, the project is created in your account’s default workspace. See Workspaces Guide for more.
-
Model — Defaults to
DeepSeek-V4-Flash. Premium members can selectDeepSeek-V4-Pro. Note: the model cannot be changed after the project is created.
Start the Sandbox Environment 🔗
After submitting your project request, you’ll be automatically navigated to the project chat page. Before initialization completes, the system provisions a cloud-based sandbox environment tailored to your selected agent team.
Under normal system load, the sandbox is ready in approximately 15–20 seconds. During periods of high demand, startup may take longer — please be patient while the environment initializes. See Development Environment Guide for more details.
Start Chatting 🔗
Once the development environment is ready, the project chat page splits into two panels:
- Left panel — Your conversation with the Team Leader agent.
- Right panel — A live preview of your project.
You can continue chatting with the Team Leader in natural language to define tasks, report bugs, or request refactors. As development progresses, the preview panel automatically reloads to reflect the latest state of your project.
A few things to note:
- The chat page is re-entrant — you can refresh, close, or reopen it at any time without interrupting the agent team’s work.
- You can only converse with the Team Leader agent, not individual team members directly. However, you can instruct the Team Leader to delegate a task to a specific agent.
- The Team Leader’s avatar is labeled
TL. - Team member outputs appear as collapsible panels, with avatars showing each member’s initials (e.g., the Frontend Agent is abbreviated as
FA). - If multiple member panels appear simultaneously, it means the Team Leader dispatched tasks to multiple agents in parallel.
Next Steps 🔗
- Learn how to chat efficiently in an existing project: Common Operations.